8 Reasons to Become a Lash Tech
Are you passionate about beauty and looking for a job that’s fun, flexible, and pays well? Becoming a lash technician could be your perfect match! The beauty world is booming, and lash extensions are in...
A picture speaks a thousand words. We know so many lash artists that want to grow their social profiles focus on the amount of times they’re posting on their social pages but often forget that the quality of the images they’re posting is so important.
Lash artists are often so busy with appointments, we understand that sometimes your social presence is something you want to work on but simply don’t have the time. Therefore, we’ve put together a few simple rules that will teach you how to take photos like a pro – so when you do post, it will be quality content!
Shine a light on your work
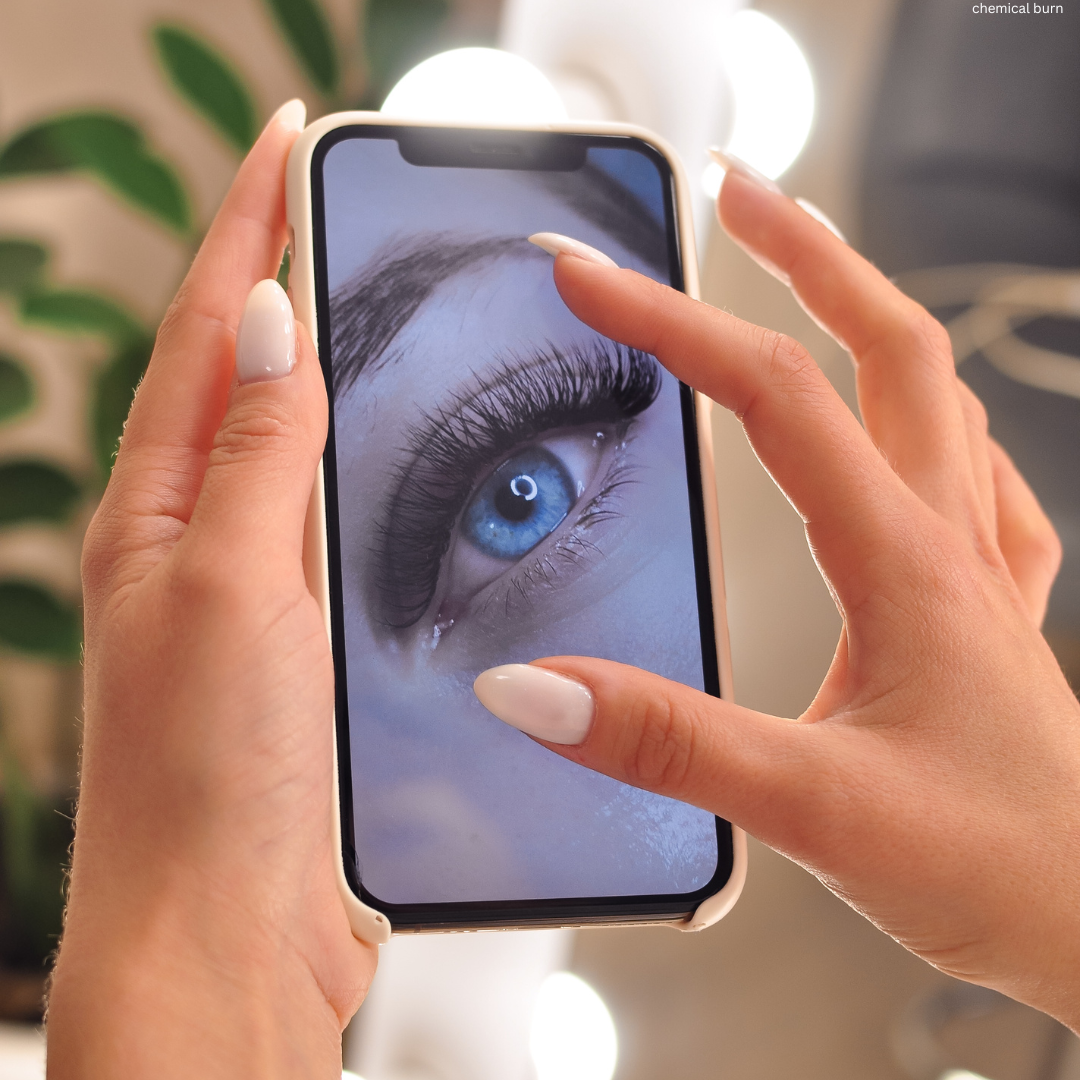
The perfect lash picture often comes hand in hand with good lighting. As a lash artist, you should have a Glamcor or a ring light shining over your clients lashes when you’re working, so make use of this for images too. Using as much natural light as possible and combining this with a bright light like a Glamcor will ensure your images will be bright and clear. Many lash artists create such beautiful sets of lashes, but often upload dark and blurry photos that don’t do the lashes justice - and most of the time this is due to poor lighting! We recommend trying to take photos of the same eye in different lightings – natural, using ring lights/glamcors, a combination of both or none at all. Comparing the photos will help to see just how much lighting can improve your photos.
Before & after images
We live by the rule of ALWAYS taking before and after images. How many times have you created a beautiful set of lashes and thought ‘Wow that’s such a transformation – why didn’t I take an image before I started lashing?!’ Even if you don’t intend on using the before pictures, the transformation may take you by surprise, so it’s always good to be on the safe side. Before and after images are also great for treatments such as GDL as they really help to showcase the transformations to your clients.
Get those angles
Anyone who’s tried to get a good photo before a night out will know that it’s all about the angles – and the same applies to lash photography. There are a few rules we like to live by;
Be the centre of attention
Backgrounds are crucial to getting the perfect shot! If you’re taking a shot far away of both eyes, make sure you have a plain background or one that is on brand. For example, if your salon logo is purple and black, then it would be appropriate to have a purple and black design in the background, but not to have another client having their lashes done or your salons kitchen.
Many lash artists forget that if you’re doing a close-up shot, there is still a background – your clients face. Make sure all under-eye pads, micropore tape, and any loose lashes that may have fallen on the face are removed so you have a completely blank canvas around the eyes. If you’ve removed make up around the eye, blend it so it doesn’t take the attention away from the lashes. The same rule can be applied to any obvious stray hairs in eyebrows that could be quickly plucked, as this will keep the focus on the lashes.
#NoFilter
We know that not every picture you take will be picture-perfect, and that is why editing apps can be so useful. There are many editing apps that are free for you to download that can correct those imperfections you may not have seen whilst taking the pictures. These apps have many uses for perfecting lash images, whether this be to smooth out a stray eyebrow hair, lightly airbrush the skin around the eyes or to brighten the white of the eye where it may have been slightly pink from adhesive fumes. There are two rules we always live by with editing and that is to; never over-edit any images, and never edit the lashes themselves. These are so important as editing apps should only be used to remove tiny imperfections, not change your work completely.
People often add watermarks to their work through these apps too, this is completely understandable and an effective way to brand your pictures. In doing this we would always recommend making your watermarks small, and for them to not cover any part of the lashes or eye, but to put them in the corner so they don’t become a distraction to your work.
We hope these photography tips are helpful for any lash artist looking to up their game on social media. We know how busy lash artists can be, so by following these tips, you won’t have to spend ages photographing each client as you’ll know exactly how to take photos like a pro.
Do you have any tips for lash photography? Let us know!