How To Map Lash Extensions

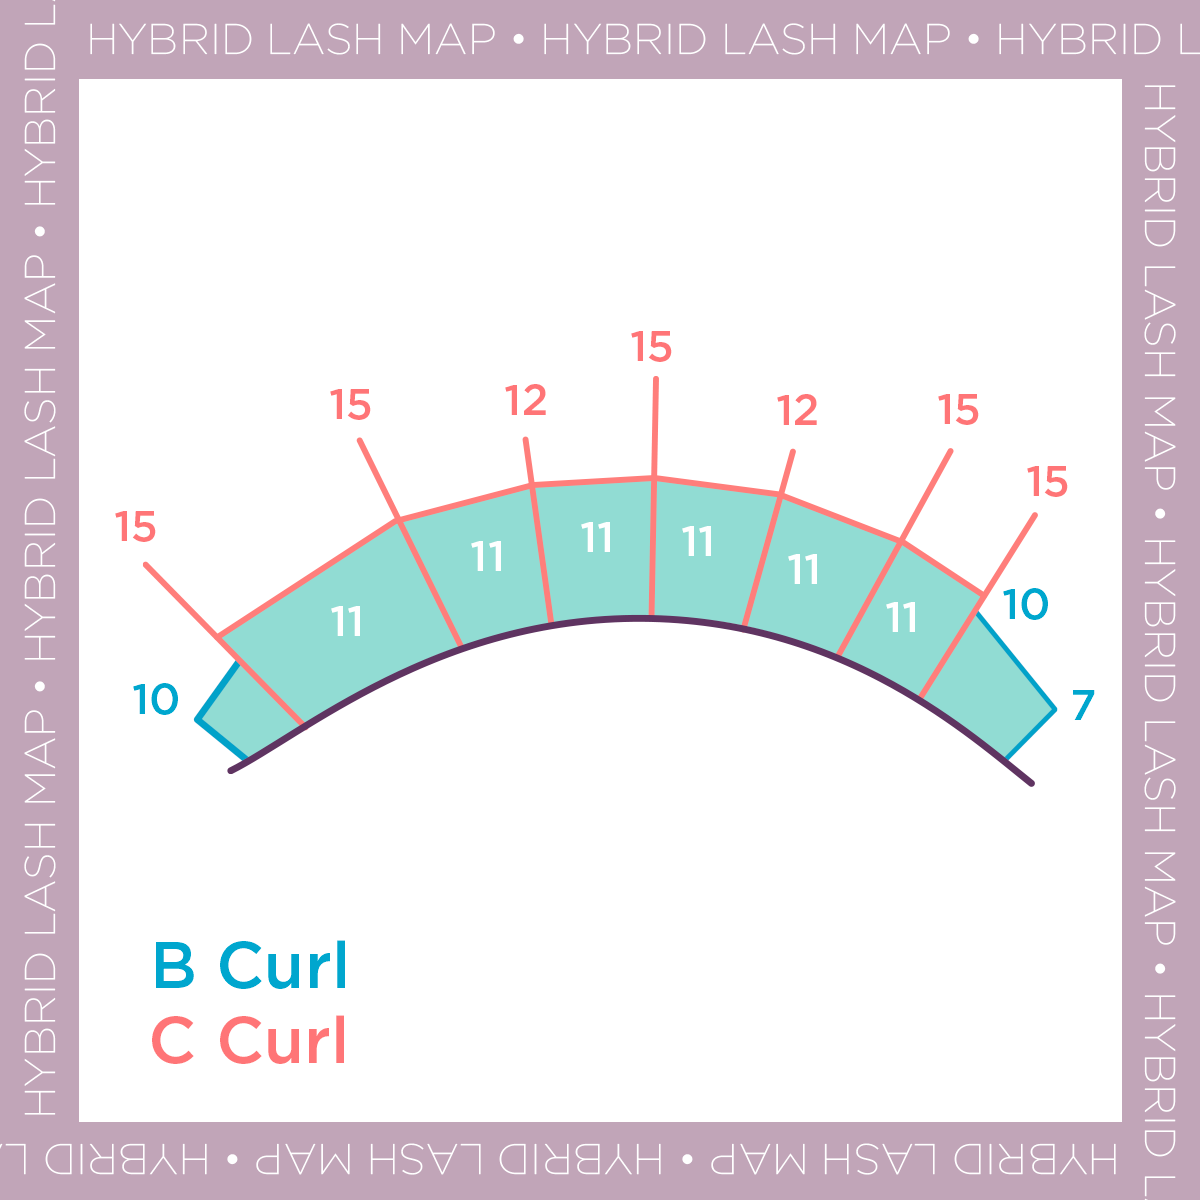
When creating a set of lash extensions, lash mapping plays a leading role in ensuring you create the perfect shape to suit your clients. Outlining your lash lengths and segments on an under-eye pad before you begin treatment allows you to consider the shape and features of each eye individually to ensure you create a picture-perfect set of lashes for your client. Not only does it help adhere to lash safety by determining what length of extensions are safe to use on the natural lash, but it also allows you to create completely different looks tailor-made to your client’s eyes.
Why do we lash map?
One of the main benefits of eyelash mapping is that it helps to maintain symmetry between both eyes. It helps you to create invisible length transitions resulting in flawless lashes. When you lash map, it makes working with layers so much easier, and with everything you want to do planned out in front of you – it cuts down treatment time too.
Eye Shapes
When choosing the right lash map, it is vital to determine what shape eye your client has in their lash consultation. If you use the wrong lash map for your client’s eyes, it can emphasize an area that you would want to conceal. There are five main types of eyes your client could have; Almond, Round, Narrow, Hooded or Monolid. It is important to understand what shape eyes your client has before treatment so you can map to compliment them.
If this is something you’d love to learn more about, how to lash map for different eye shapes is part of our New HYLASH Classic Advanced Training Course.
Types of lash maps
There are two basic types of eyelash maps that we work from within the industry. The first is an ‘Open Eye’ lash map. This is where the longest lash is placed in a central position, in line with the pupil, and then the lengths gradually shorten as they reach the inner and outer corners. Different looks you can create from this base would be a ‘Natural’ lash map or a Dolly lash map.
The second is a ‘Feline’ lash map, where the industry bases its knowledge of placement from Leonardo Di Vinci’s Golden Ratio of how to draw eyes. To create the feline lash maps, take a line from the outside of the nose through to the iris and to the kink of the brow – this is where the longest lash will be placed. There are many different looks you can create from this, such as the Kitten lash map, the Cat lash map, or the Squirrel lash map – their differences being the gradients in which the lashes go from the longest lash to the outer corners.
10 Steps on how to lash map
- Mark on your client’s lid where their pupil is and move this mark higher to the eyebrow so you don’t lose it when cleansing the lashes. (This will save you having to sit up your client to do this at a later stage).
- Prep the client and put on under-eye pads.
- Taking the pupil dot, mark where your longest lash will go in the centre of the under-eye pad.
- Split the under-eye pad into sections graduating to both inner and outer corners.
- Isolate a lash within the longest lash middle section. Take an artificial lash (with no adhesive attached) and measure it against the natural lash root to tip until you have the most similar length.
- You then know that you can use lash extensions around one third longer than these. For example, if your natural lash measured 9mm, the longest lash extension you can use would be 12mm. Take the lash extensions (12mm in this example) and measure this, with the application gap, to see if it is the correct length.
- You now have your middle length for your lash map. Write this number (e.g. 12) in the middle section.
- Now write your inner corner length (remember the golden rule of not using a lash extension longer than an 8 on inner corners!) So, this could be a 6, 7 or 8 etc.
- Graduate the lengths in between the inner corner and middle lengths and do the same going back to the outer corners.
- Repeat on the other eye (and account for any individualities) and your lash map is complete!
For a visual guide on how to lash map, please see the second half of our video tutorial below!
In The Eyelash Emporium’s HYLASH Classic Advanced Course, you can learn about hybrid lash mapping, so if layering and creating on-trend wispy hybrid lashes is something you want to start offering your clients, then this course is for you!
Find out more at www.eyelashemporium.com/pages/classic-advanced-eyelash-extension-training or watch our video tutorial below!
- Tags: Lashes


